Have you ever thought about getting a brand-new floating fireplace mantel for above your fireplace or insert? We won't tell you what to do, but if you're here, it might be the right time! And if you already have one and are ready to install it, we've got you covered.
In this post, we'll walk you through the process of installing one of our stunning Glenn Floating Fireplace Mantels. Even if you have a similar mantel from another brand, you can follow along—though we might feel a little sad if it's not ours. Let's dive in and get that mantel up!
---
How to Install a Floating Fireplace Mantel (20-minute read)
---
**Where Should I Put My Floating Mantel?**
Where should you install your Floating Mantel? Over the fireplace, of course!
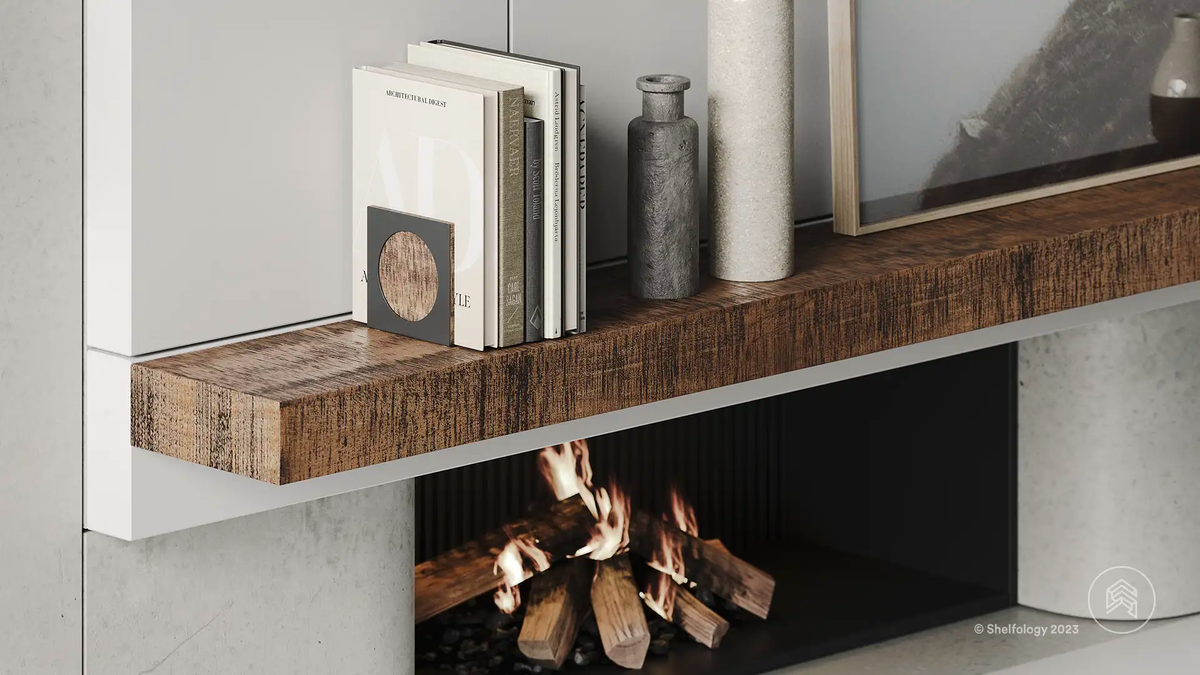
Traditionally, the mantel sits about 6 inches above the fireplace, centered evenly. But you can place it anywhere you like—as long as it doesn’t pose a fire hazard. Ignore anyone who tells you otherwise.
---
**What Do I Need to Install a Floating Mantel?**
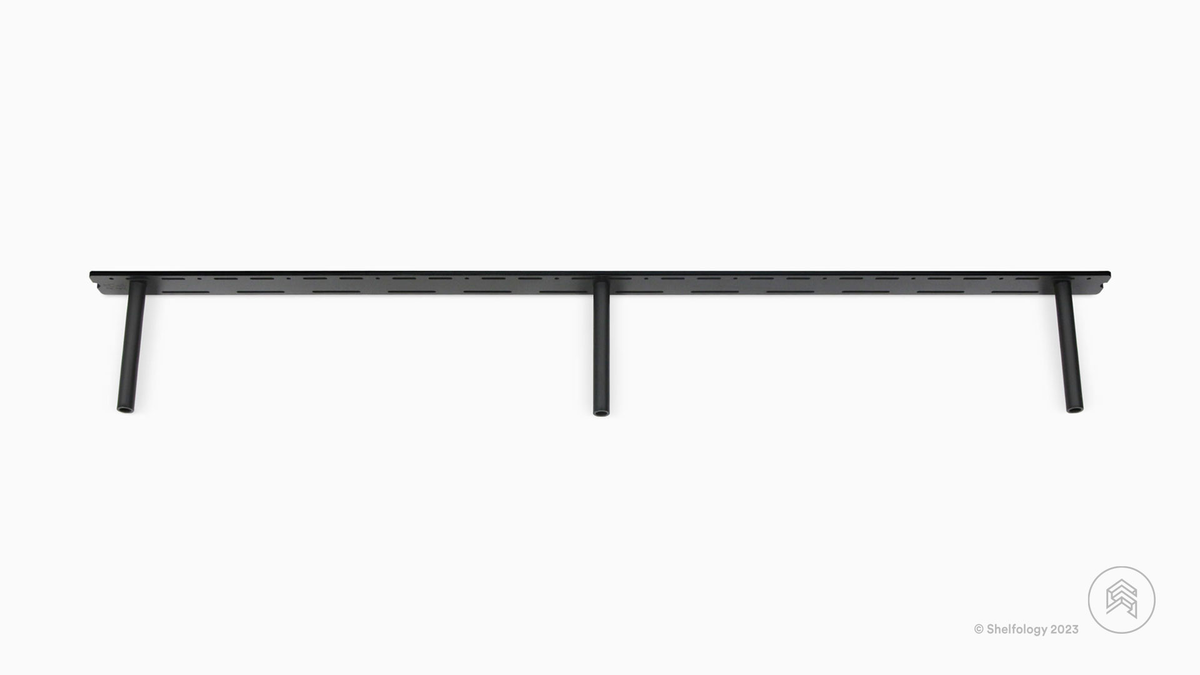
Glenn Heavy-Duty Floating Fireplace Mantel Bracket by Shelfology
For this project, you’ll definitely need a stud finder if your fireplace is surrounded by cement board or a similar material. Make sure you also have drywall anchors on hand.
If you’re dealing with a full masonry fireplace, grab masonry tools (bits and proper screws). You’ll also need a drill with the appropriate bits (for Glenn, you’ll need both a ¼-inch and 3/16-inch drill bit). If you want the bracket to sit flush with the wall, you’ll also need a ¾-inch countersink bit.
We highly recommend using a level to ensure everything stays straight. A tape measure and pencil will also come in handy during the installation.
---
**How to Install a Floating Mantel:**
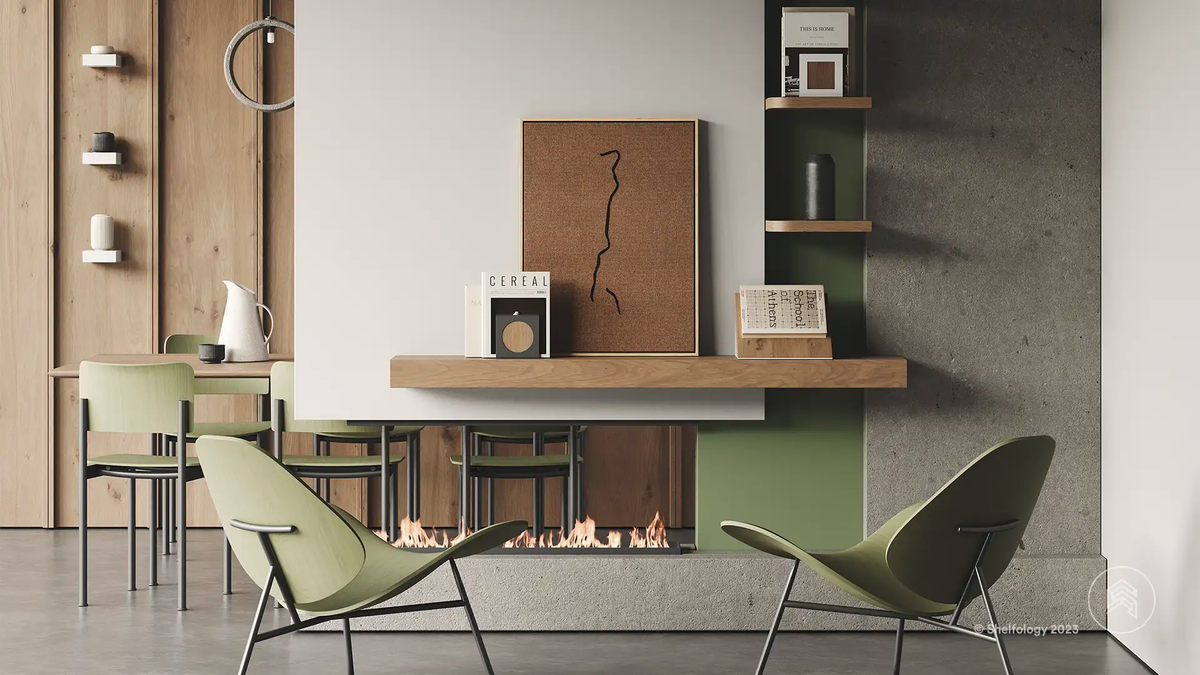
Ultra-Modern Living Room featuring Glenn Floating Bracket
While following these steps, remember that it’s always possible to open up your wall and add blocking (a horizontal stud drilled into two vertical studs) if you’re having trouble finding enough studs for the installation.
**Step 1: Attach Your Bracket on One Side & Level**
Start by using your drill bit to create a pre-drilled hole on the first side. Pencil out a rough outline to guide you and keep things centered. Once the bracket is attached on one side, lift the other side and use your level to get the bracket perfectly aligned. Pencil in where you’ll need to pre-drill. Don’t fully attach the bracket to the wall just yet.
**Step 2: Add Additional Anchor Points With Drywall Anchors**
If you’re drilling into masonry, you can skip this step and just add as many anchoring points into your stone or brick as possible. The more anchors you use, the sturdier your mantel will be.
For those installing on cement board or similar materials, add drywall anchors wherever you can’t hit a stud. Keep your bracket level while penciling in where you’ll need the anchors, then remove the bracket and add them where needed.
**Step 3: Install and Enjoy!**
All the prep work is done! Go ahead and mount the bracket, drill it in, and slide on your sleek mantel slab. Step back and admire your handiwork. Great job!
---
**Selecting the Perfect Shelf for Your Mantel**
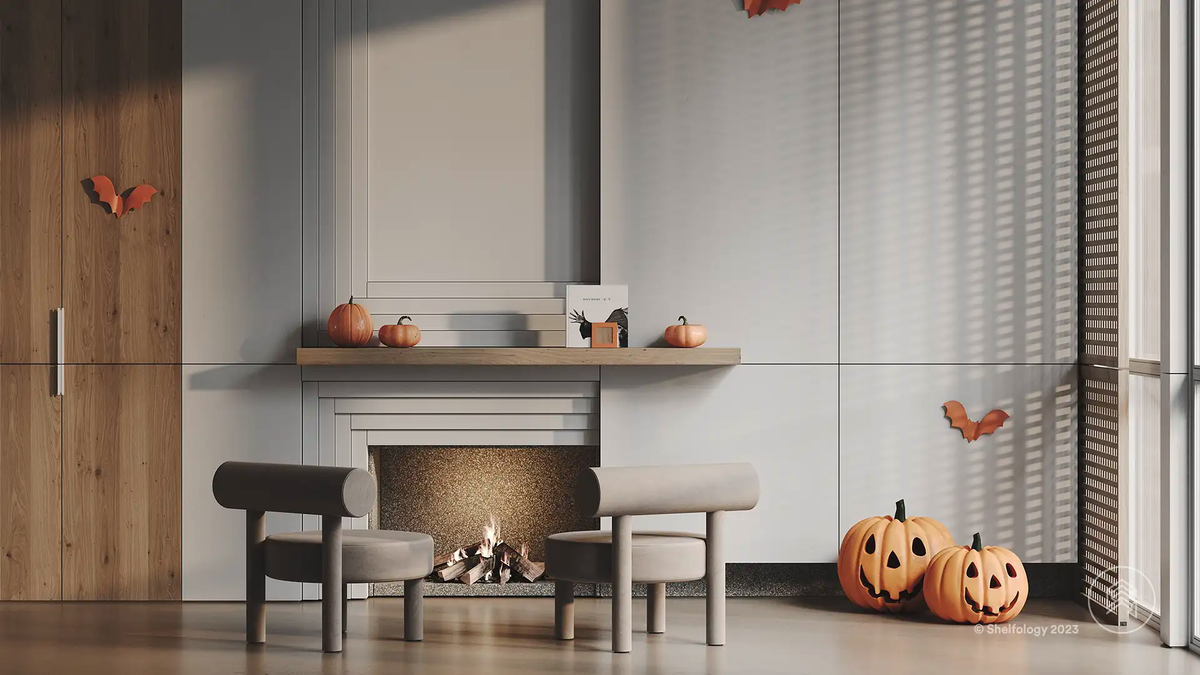
Glenn Floating Bracket + Ellie Magnetic Bookends
At Shelfology, we’re big fans of shelves that don’t warp or degrade after just a few months. We love durable, high-quality mantels that deserve pride of place on your wall. Browse our collection of Glenn Floating Fireplace Mantels without compromising on quality. Every shelf kit comes with a sturdy all-steel wall bracket that stands the test of time. Trust us—you’ll be impressed.
---
**Related Articles**
Looking for more inspiration? Check out these related posts:
- [What Is a Floating Fireplace Mantel & Why Do You Need One?](#)
- [Floating Shelf Depth Guide: How Depth Impacts Stability](#)
- [How to Install a Floating Mantel Series. Part One: Mounting Over Sheetrock](#)
---
**About the Author**
**Tony Jefferson**
*Content Wizard + Proponent of the Oxford Comma*
Tony is a self-styled maverick who eschews shoes, cold weather, and poorly written grammar. When he’s not crafting ambitious PPC campaigns or compelling content, you can find him soaking up sun and beans south of the border. ¡Viva Shelfology!
---
**Share This Article**
Feel free to share this guide with friends who might benefit from it. Spread the word via Facebook, email, Twitter, or LinkedIn!
[Insert Share Buttons]
---
This guide is part of our ongoing effort to help you transform your space into something extraordinary. Whether you're a DIY enthusiast or just looking for advice, we’re here to support you every step of the way. Happy building!
 **Tony Jefferson**
*Content Wizard + Proponent of the Oxford Comma*
Tony is a self-styled maverick who eschews shoes, cold weather, and poorly written grammar. When he’s not crafting ambitious PPC campaigns or compelling content, you can find him soaking up sun and beans south of the border. ¡Viva Shelfology!
---
**Share This Article**
Feel free to share this guide with friends who might benefit from it. Spread the word via Facebook, email, Twitter, or LinkedIn!
[Insert Share Buttons]
---
This guide is part of our ongoing effort to help you transform your space into something extraordinary. Whether you're a DIY enthusiast or just looking for advice, we’re here to support you every step of the way. Happy building!
**Tony Jefferson**
*Content Wizard + Proponent of the Oxford Comma*
Tony is a self-styled maverick who eschews shoes, cold weather, and poorly written grammar. When he’s not crafting ambitious PPC campaigns or compelling content, you can find him soaking up sun and beans south of the border. ¡Viva Shelfology!
---
**Share This Article**
Feel free to share this guide with friends who might benefit from it. Spread the word via Facebook, email, Twitter, or LinkedIn!
[Insert Share Buttons]
---
This guide is part of our ongoing effort to help you transform your space into something extraordinary. Whether you're a DIY enthusiast or just looking for advice, we’re here to support you every step of the way. Happy building!